Hello,
It may not feel like it, but Winter is just around the corner. I'm shaking off the wet weather blues by creating with some gorgeous new floral stamps from the Mini Catalogue. I think you'll love the style and luxurious colours of the Peaceful Poppies Suite as much as I do.
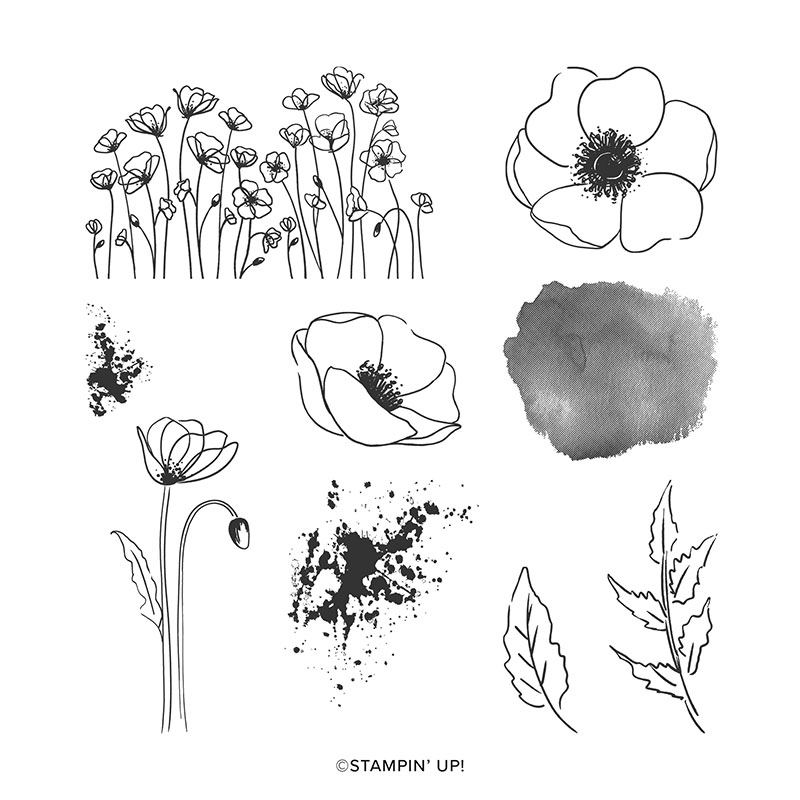
This is actually a mega-suite, meaning it has two stamp sets and two die sets, plus lots of other awesome coordinating accessories. One of the items from this suite is a hidden gem that I'm showcasing in this month's tutorial, so check it out below!
Have you seen the newly released Coordinating Products that go with favourites from the Mini and Sale-A-Bration catalogues? I love how these products are designed to make it easier to create with, and step-up the style, of some of our most popular new products.
Sincerely,
ShonaGai
------
To receive your free Thank you gift for ordering more than $50 but less than $250 through my Online Store this month you need to enter the following Hostess Code when prompted:
Host Code: GWVN3XAQ
P.S. Sale-A-Bration is about half way through, so make sure you shop and get your reward items soon. It's not too late to schedule to host and earn extra rewards, but don't wait as my dates are filling up quickly!
|
|
|
Peaceful Poppies Elements Tutorial
|
| |
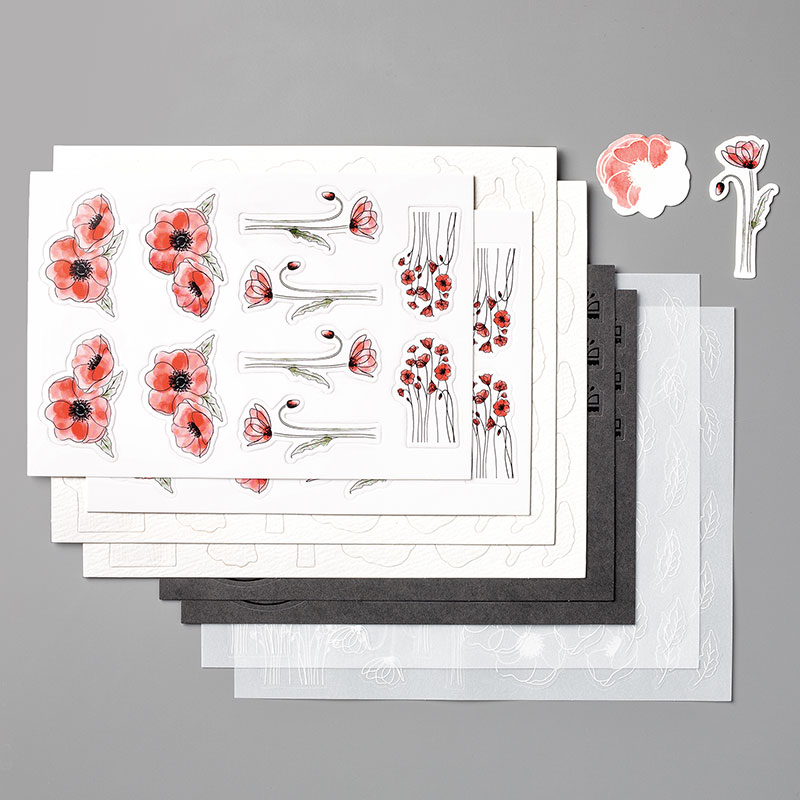
Even a Mini Catalogue can have hidden gems tucked away in it's pages! The Peaceful Poppies Elements are a crafting treasure just waiting to be discovered. This little kit packs a big punch at a small price. It includes 8 sheets of die-cut printed accents that coordinate with the Peaceful Poppies suite.
These aren't your run-of-the-mill die-cuts either. You get a whole selection of die cut images, shapes, and labels with embossing, foil accents, coloured images, and printed vellum that make it quick and simple to step-up the style on your projects.
Plus, if you are wanting to up the artistry, these elements are great for techniques like coloring, embossing, emboss resist, and more.
This tutorial shares how to create 3 note cards that showcase 5 fantastic ways to use the Peaceful Poppies Elements!
Peaceful Poppies Elements: 8 sheets total
* 2 sheets black die-cut elements with black foil prints: labels, banners, borders
* 2 sheets white thick cardstock die cuts with colored prints: poppies
* 2 sheets vellum die cuts with white prints: poppies and leaves
* 2 sheets watercolor paper die cuts with clear UV prints for watercoloring: poppies and leaves
|
|
1. Heat Emboss
Pop out a black foiled cardstock circle from the Peaceful Poppies Elements kit. Rub with the Embossing Buddy. Stamp greeting from the Sale-A-Bration Sending You Thoughts stamp set with VersaMark ink. Cover with White Stampin' Emboss Powder. Tap off excess and heat emboss using the Heat Tool.
|
|
|
2. Embellish Note Card 1
Start with a pre-cut and pre-scored Whisper White Note Card. Cut a 1-1/2" x 5" strip of Peaceful Poppies Designer Series Paper. Adhere 1/8" from left edge of card. Adhere embossed black circle to card front with Stampin' Dimensionals. Pop out a pre-coloured poppies from an elements sheet and adhere as a coordinating accent using Stampin' Dimensionals.
|
|
|
3. Watercolor a Poppy
Pop out a watercolor paper poppy from the elements sheet. Brush water inside the embossed outline. Use Pumpkin Pie and Mango Melody inks and an Aqua Painter to watercolor the flower. Allow to dry.
|
|
|
4. Stamp & Diagonal Accents
Cut a 1" x 4" piece of Peaceful Poppies Designer Series Paper. Stamp greeting with Tuxedo Black Memento ink. Adhere strip at a diagonal across a pre-cut note card. Pop out a black foiled scallop strip. Adhere alongside paper strip. Trim off excess at edges of card with Paper Snips.
|
|
|
5. Embellish Note Card 2
Adhere watercolored poppy to top right of diagonal strip with Stampin' Dimensionals. Tie a bow with Whisper White 1/4" Crinkled Seam Binding Ribbon. Adhere below poppy with a Glue Dot.
|
|
|
6. Colour Vellum Poppy
Pop out a vellum poppy from the elements sheet. Flip it over so the white embossing is face down. Color the poppy with Light and Dark Poppy Parade Stampin' Blends. Color the center with the dark and blend out to the edge with the light.
|
|
|
7. Stamp & Layer
Ink the splatter stamp with Smoky Slate ink. Stamp off once and stamp onto the corner of a pre-cut note card. Repeat for all four corners. Layer 2" x 5" stripped Peaceful Poppies Designer Series Paper onto 2-1/4" x 5" Poppy Parade cardstock. Adhere to card front.
|
|
|
8. Embellish Note Card 3
Stamp greeting on Whisper White cardstock with Tuxedo Black Memento ink. Punch out with Label Me Fancy Punch. Punch scrap Smoky Slate with Label Me Lovely Punch. Layer punched greeting off center to the left of the larger punch. Add a "V" of Whisper White 1/4" Crinkled Seam Binding Ribbon behind labels. Add label to card with Stampin' Dimensionals. Add the coloured vellum poppy with a single Stampin' Dimensional hidden behind the embossing in the center.
|
|
|
Peaceful Poppies Elements
#151327
| |
Peaceful Poppies Designer Series Paper
#151324
|
Country Club Designer Series Paper
#151599
|
|
|
|


No comments :
Post a Comment
Thank you for making the time to write a comment ~ Have a great day