| |||||||||||||||||||||||||||||||||||||||||||||||||||||||||||||||||||||||||||||||||||||||||||||||||||||||||||||||||||||||||||||
| |||||||||||||||||||||||||||||||||||||||||||||||||||||||||||||||||||||||||||||||||||||||||||||||||||||||||||||||||||||||||||||


| |||||
| |||||
|
| Snow Many Ways with Snowflakes |
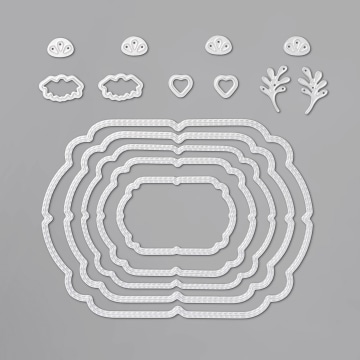
| Nature has many ways of showing off her genius, and one of the most notable examples is found in the delicate patterns of snowflakes. Stampin' Up! concept artist decided to highlight the whimsical beauty of these fabulous ice crystals using the So Many Snowflakes Dies (item 153560), a variety of embossing folders, and subtle, pastel colour combinations to create truly breathtaking cards. |
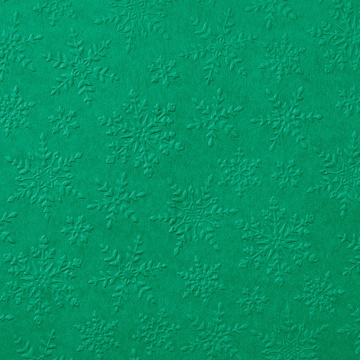
| To make the watercolour snowflake accents featured on the Happy Hanukkah and Snowflake Wishes cards, we simply applied Blushing Bride and Misty Moonlight ink to the die-cut snowflakes using Sponge Daubers (item 133773)—replicating the soft hues of a wintry, twilight sky. Stampin' Up! artist enhanced the texture and beauty of these cards using the Winter Snow (item 153577) and Evergreen Forest 3D (item 153576) Embossing Folders, respectively. |
| To create our Thank You Snow Much gift bag, we embossed Brushed Metallic Cardstock (item 153524) using the Woodland Embossing Folder (item 152881) and added peek-through snowflake die-cut pieces for extra charm. Who wouldn’t love to receive this darling gift bag, tied with a 1-1/2" (3.8 cm) Metallic Mesh Ribbon (item 153550)? |
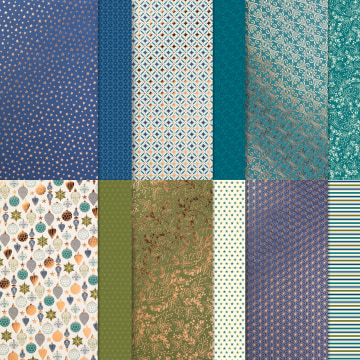
| Basic Stamp a leaf in Cajun Craze ink on the front of a Very Vanilla card base and use the dies to add details. Adhere a piece of striped Gilded Autumn Designer Series Paper to the left edge of the card. Stamp a sentiment in Early Espresso ink on Mint Macaron Cardstock, and punch it out using the Label Me Fancy Punch. Adhere the label, wrap ribbon around the card, and tie a bow! |
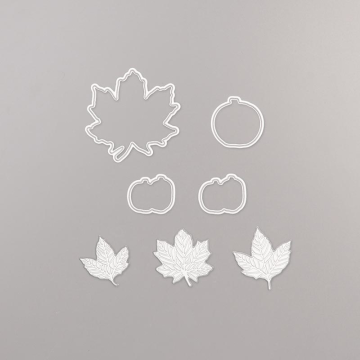
| Step Up Cut stitched lines into the Very Vanilla Cardstock. Stamp leaves in Cajun Craze, Crumb Cake, and Mint Macaron ink on a separate piece of Very Vanilla Cardstock and die-cut them using the Stitched Leaves Dies. Use VersaMark ink to stamp the label, sprinkle with Gold Stampin’ Emboss Powder, and arrange the pieces onto the card. Finish with Wonderful Gems! |
| Stepped Up Emboss the Very Vanilla Cardstock with the Tin Tile 3D Embossing Folder before adding gold foil accents and other layers. Before tying ribbon around the card, add an Acorn Trinket. Replace Crumb Cake ink with Early Espresso ink when stamping leaves, and punch a label from a Gold Foil Sheet embossed with the Subtle 3D Embossing Folder. Split up the sentiment, then arrange and adhere the pieces! |
| Happy Christmas Step-by-Step | |||
We’re all paper crafters, here. And that means visions of sugarplums (and Christmas crafting) start dancing in our heads as soon as November hits. we can keep it simple or make it fancy. All that matters is that you add a bit of yourself to your giving this year by making it handmade and heartfelt.
|

I love making cards for Blog Hops, the theme of this Hop is to create a Thank you cards for my beautiful Customers. I will be posting them off, on the last day of the months to all the customers that order from me.
|
| FUN WITH PARTS & PIECES |
| Challenge: Make three lovely cards using the following supplies, but give them each a unique look. |
|
| Our concept artist accepted this challenge, and now look at all of the lovely cards: one for summer, one for autumn, and one all-occasion card! |
| We particularly wanted to draw your attention to the card with three 1-5/8" x 3-3/4" (4.1 x 9.5 cm) panels. The first depicts late summer/early autumn, the second shows a tree in full autumn glory, and the third panel illustrates a tree preparing to cosy up and hibernate for the winter. By changing the number and colour of the leaves in each panel, our artist was able to suggest the seasonal progression—and create a fun build-up of leaves on the bottom of the card, which gets bigger with each panel. |